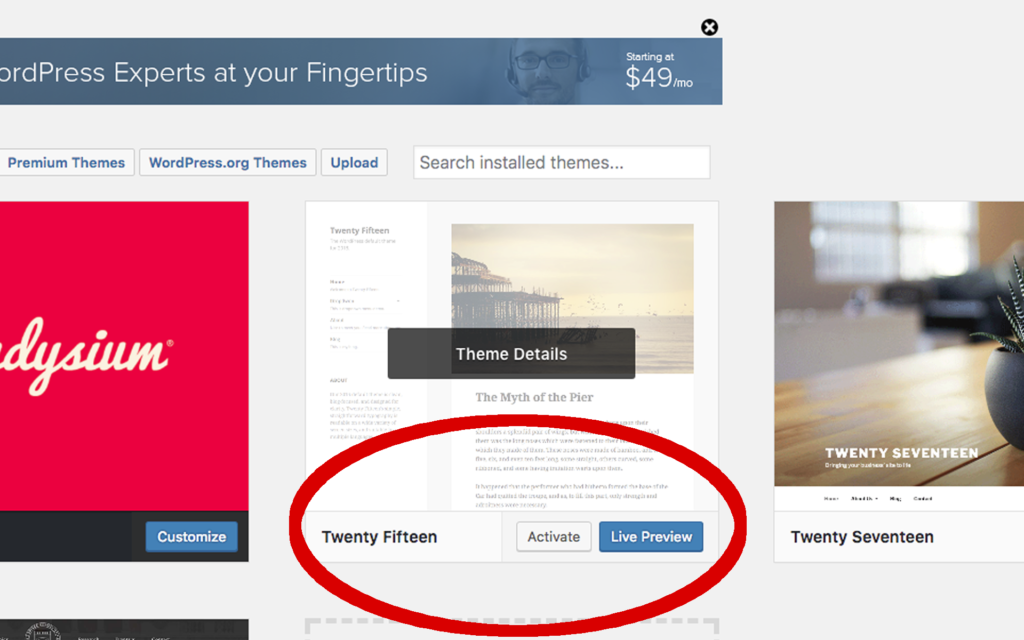
So you have a theme or you want a new theme to upload to your website to personalize your site to represent you. Well, here are some simple steps to install a new theme for WordPress.
First if you are looking for a new theme you can check outmany different types at themeforest for a new theme that meets your criteria.
Furthermore, Lets get started
So you already have your theme and your WordPress is already installed onto your hosting server.
So lets begin adding your new theme…
Step 1. Log In
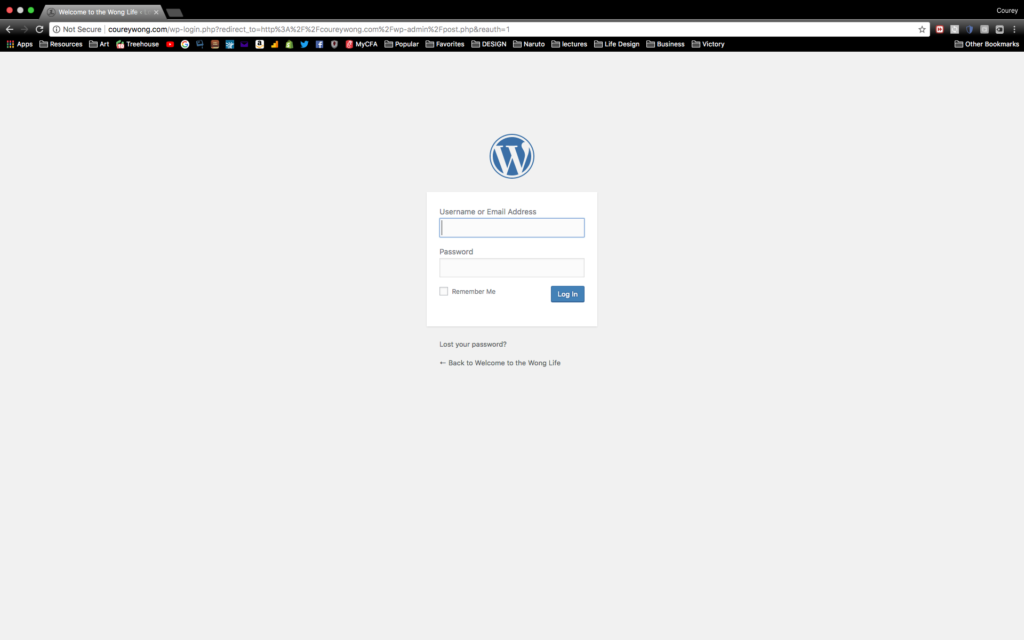
First login into your WordPress admin panel or your dashboard. by going to the backend of your site…
Example:
myawesomeblog.com/wp-admin
or
myawesomeblog.com/admin
and you will come up to this screen
Step 2. Find The Appearance Menu Tab
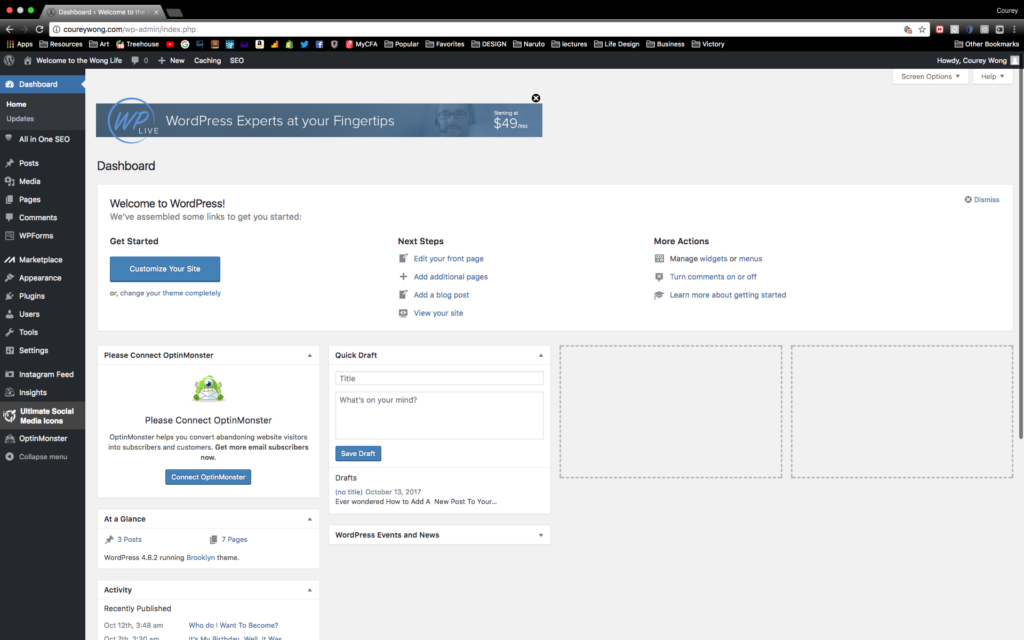
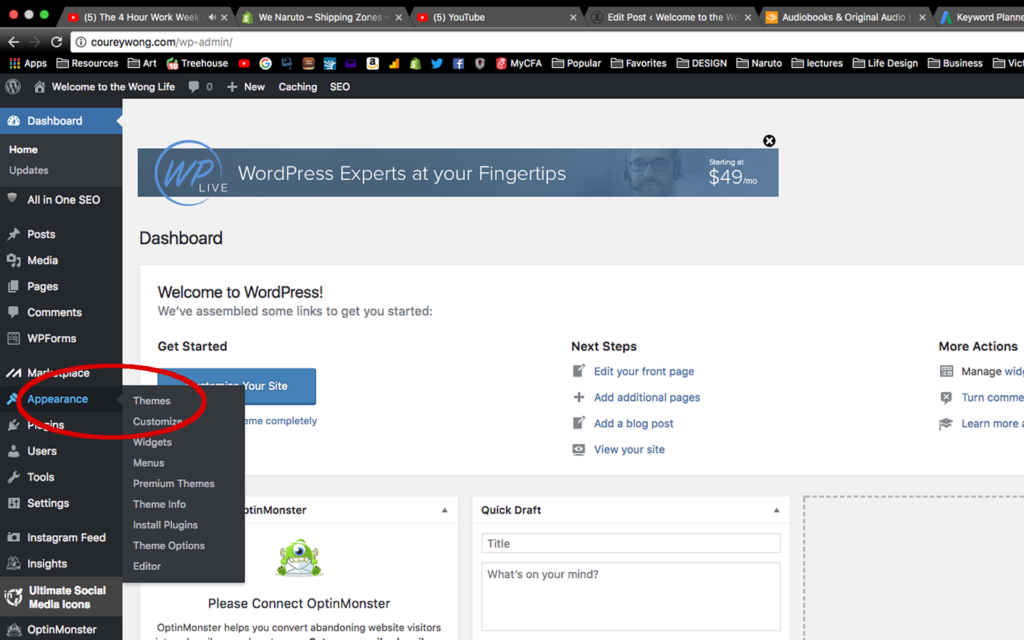
Once your logged in look to the left of your dashboard and you will find menu tabs to navigate through the backend of your WordPress site.
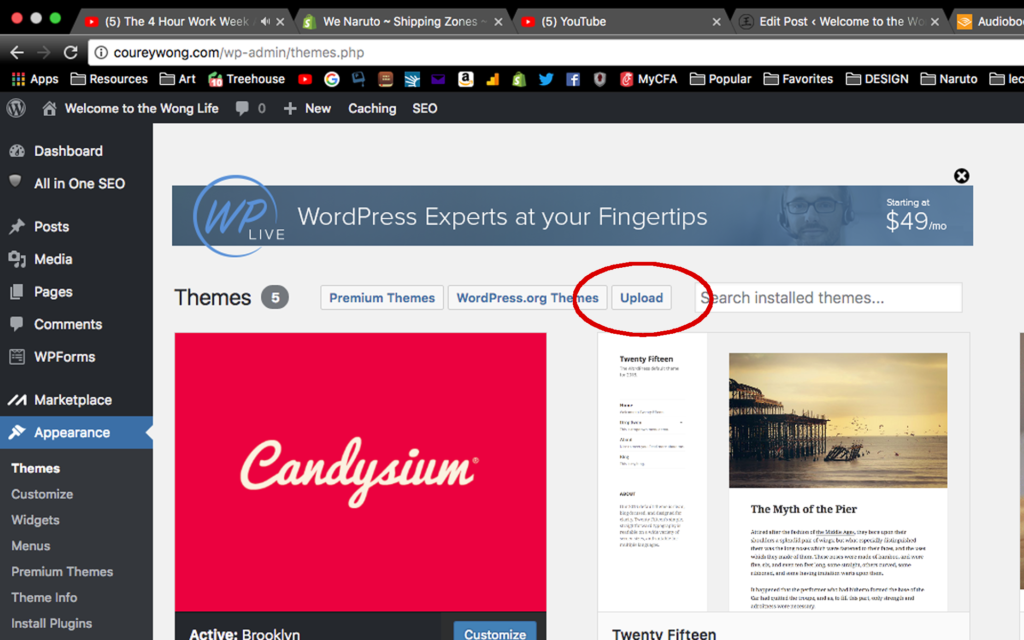
Scroll down the menu till you find the option “Appearance”. Before you click on it, hover over the option until you see the option “Theme”.
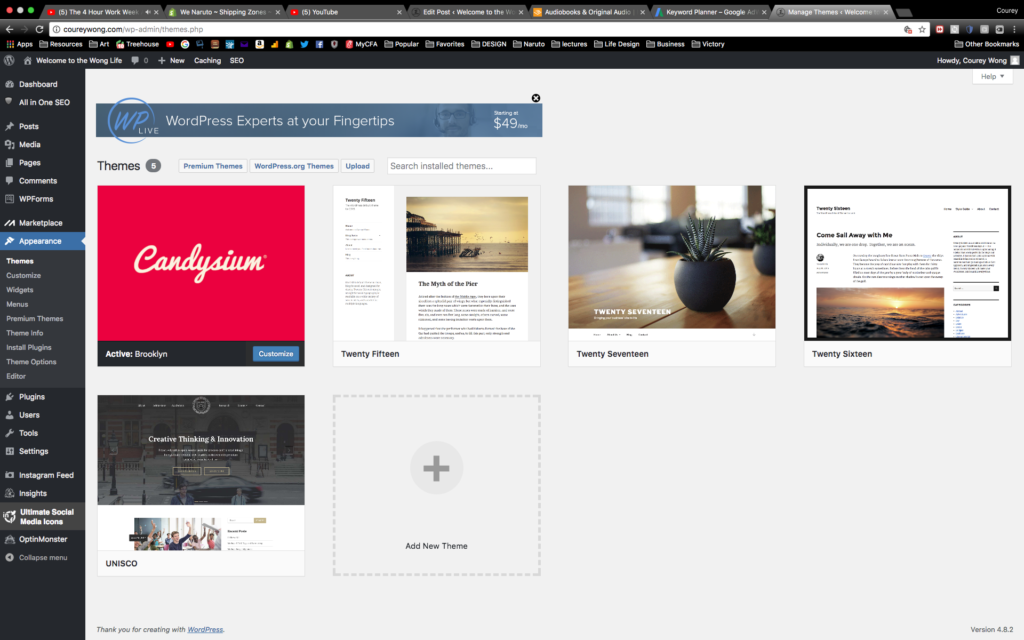
once you clicked on the “Theme” menu it will bring you to the theme page.
Step 3. Upload Your Theme
Your now on the theme page. Next look to the top of the page where the title “Theme” is located. The third button to the right should say “UPLOAD”. Click on it and this will take you to the upload page.
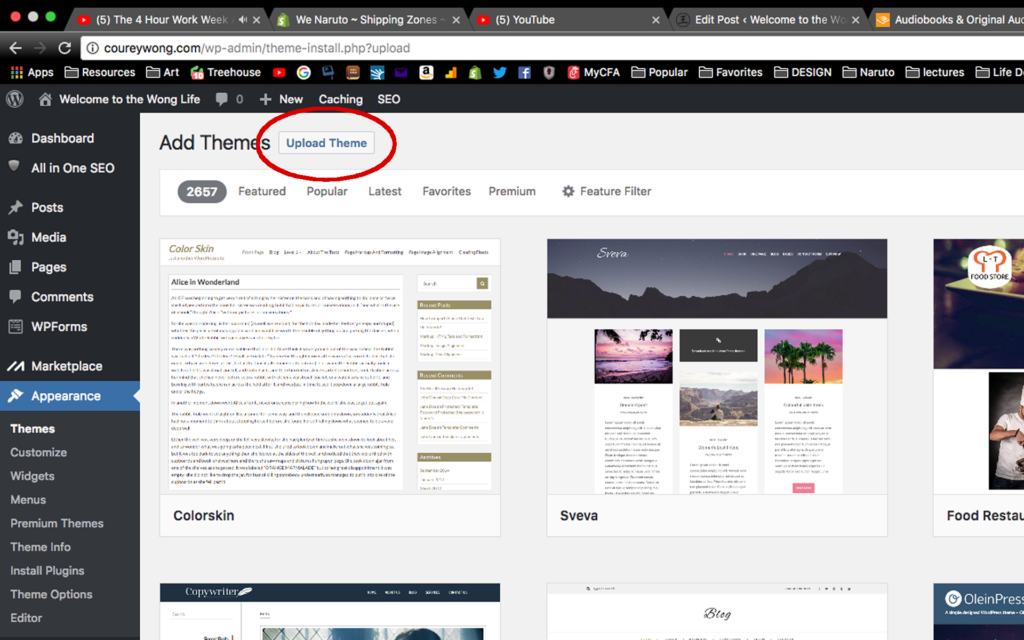
Once on the page, at the top next to Add Theme click on the button next to it “UPLOAD THEME”.
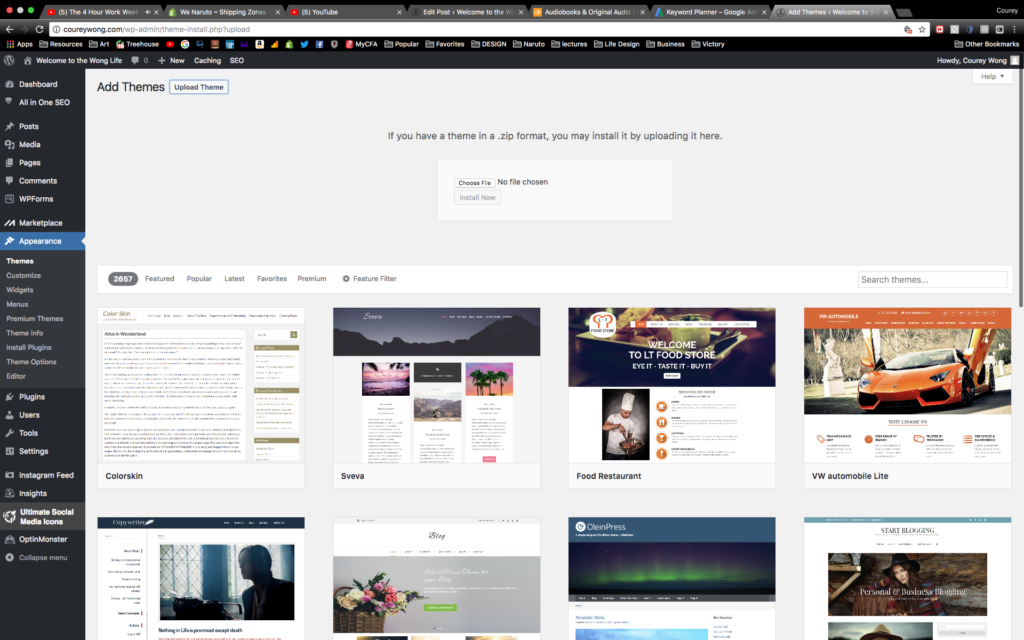
After you have clicked the upload button you will have the option to choose the file.
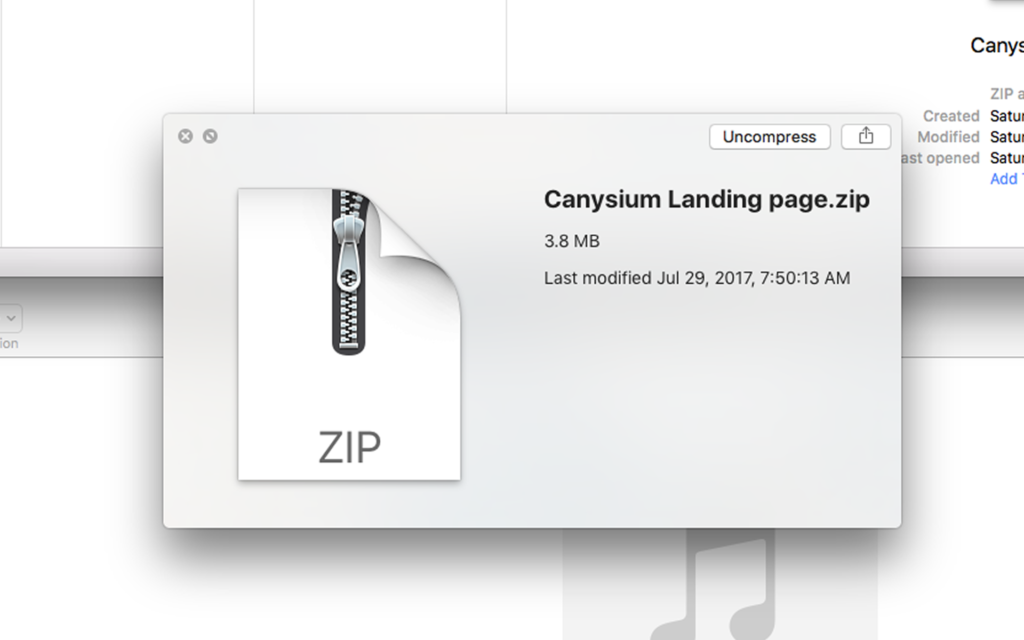
Find the file, this file needs to be in a .zip file…
Step 4. Activate
After you have selected the file, click install and once installed click activate and theme is now active for you to edit.
So there you have it, that is how you install and upload your new theme to personalize your website.
I hope this helps for all your web design and WordPress needs. If you like share with a friend.
